Microsoft Teams Doesn’t Load
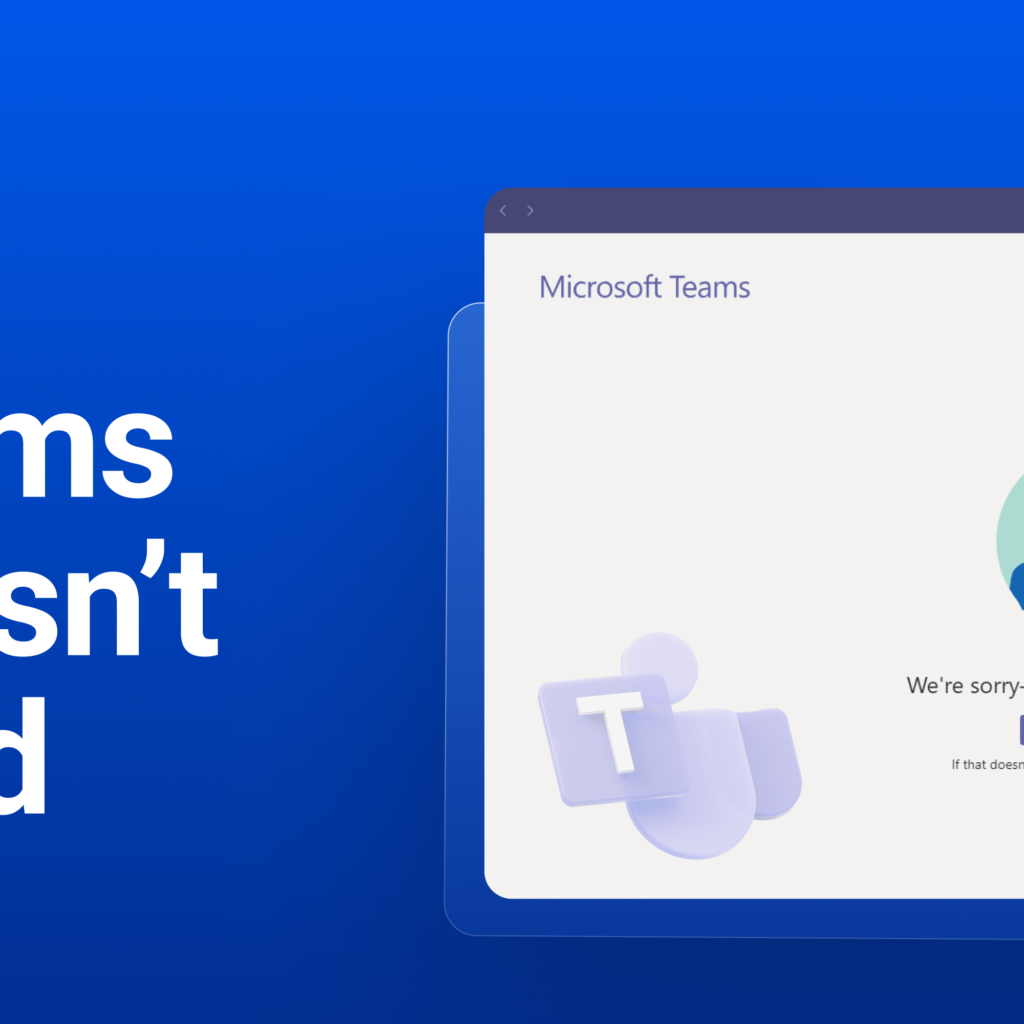
Microsoft Teams users may experience difficulties while using the application. These difficulties are caused by a list of unlikely malfunctions which include, Teams not loading, and files not opening among others. Just like every other problem, these malfunctions have solutions to avoid disruption of the user’s activities. This article places focus on the error ‘Teams […]
How to Fix Microsoft Outlook Issues

Common Microsoft Outlook issues can be resolved with known solutions. The article highlights common issues with detailed solutions to fix the problems. Common Microsoft Outlook Issues 1. Search Button Malfunctions The search bar and button can return incomplete information or sometimes no result during a search. This error occurs due to: • Corrupted search index […]
How to fix Microsoft Outlook Crashes

Microsoft Outlook can encounter some problems and impact functionality. However, there is always a solution to these situations. The solutions always come in handy as they help you stay afloat in the situation without losing much time and wasting resources. This article presents common Microsoft Outlook crashes and how you can fix them. Common Outlook […]
How to Configure Mail Flow Rules in Exchange Online

Mail Flow Rules also called transport rules recognize and respond to messages passing through Exchange Online. Similar to the Inbox rules found in Outlook and Outlook on the web, mail flow rules are also available in Outlook. One key distinction is that, unlike mailbox-based rules, mail flow rules intervene with messages while they are in […]
How to manage Mailbox Permissions in Exchange Online
The Exchange Mailbox plays a crucial role in facilitating communication within an organization. It is managed by the Microsoft Exchange server. It serves as a central hub for employees to send, receive, and organize emails. This article will cover aspects of Microsoft Exchange, the mailboxes and managing permissions of mailboxes in Exchange Online. Key Aspects […]
Introducing Microsoft CoPilot in Viva
CoPilot in Viva helps organizations foster connections, unlock new knowledge, and uncover insights to boost employee engagement, staff performance and productivity. It is changing the way employees in an organisation engage with each other, share ideas and communicate during projects. What is CoPilot in Viva? Copilot in Viva is the integration of Microsoft CoPilot into […]
The Future of Work is Here: Microsoft Viva and the Evolving Workplace
In today’s digital world, remote work changes how organizations interact with employees. Employees can work from different countries with ease, and organizations need to ensure productivity. This is where Microsoft Viva comes in. This article dives into the dynamic tool for organizations called Microsoft Viva. What is Microsoft Viva? Microsoft Viva is a digital employee […]
Announcing Microsoft CoPilot for Finance
Microsoft recently announced the launch of CoPilot for Finance. It is an AI-powered assistant designed to boost productivity for finance professionals. In reality, 80% of finance leaders and teams struggle to do strategic work beyond operational tasks. This article dives into Microsoft CoPilot for Finance, its features and advantages for businesses. What is CoPilot for […]
FAQs about Microsoft CoPilot
Microsoft Copilot is changing the way we work and interact with artificial intelligence. Artificial Intelligence is making work easier and faster with automation. This FAQ guide provides insights on Microsoft CoPilot. What is Microsoft CoPilot? Microsoft CoPilot is a generative AI for boosting the productivity of employees and businesses. Copilot is the new name for […]
Introducing Microsoft CoPilot: Your Everyday AI Assistant
Microsoft CoPilot, the AI-powered productivity tool, isn’t just changing the way we work on our desktops; it is also having a significant impact in the cloud space. Interest in AI writing tools and chatbots has grown in recent years. One of the most exciting new offerings in this space is Microsoft CoPilot. What is Microsoft […]